What this guide covers
Over-the-door organizers can turn an unused surface into visible storage, but only when the bracket fits the actual door, the top gap remains clear, the door still closes and latches normally, and the loaded organizer suits the product instructions. Measure before buying. A hook that is a few millimetres too thick can scrape paint or stop the door from closing, while a deep pocket can collide with a wall, shelf, or handle through the swing.
Close the door before calling the space unused
Look at both sides of the door and follow its full movement. On the opening side, note the wall, door stop, switch, shelf, or furniture the organizer could hit. On the closing side, inspect the head jamb, weather seal, latch, hinges, and any uneven paint buildup. If it is a fire-rated, exterior, security, or specially sealed door, do not add a hook unless the building and door instructions clearly permit it. A storage idea is not worth changing how a required door operates.
- Measure door thickness at each proposed bracket position.
- Measure the top gap and inspect it while the door travels from open to fully latched.
- Map pocket or basket depth on both sides of the swing.
- Match contents to the exact organizer’s stated use and load limits.
- Test the empty organizer first, then add the intended load gradually.
Five measurements decide whether it fits
| Measurement | Where to check | What can go wrong |
|---|---|---|
| Door thickness | At every point where a bracket will sit | A narrow bracket scratches or will not seat; a wide bracket rattles |
| Top clearance | Between door and head jamb through the full swing | The bracket catches, rubs paint, or prevents latching |
| Organizer width | Clear face between hinges, handle, panels, and trim | The unit covers hardware or sits unevenly on a raised panel |
| Loaded depth | Organizer face to the deepest filled pocket or basket | Contents hit the wall, shelf, or people using the doorway |
| Drop and reach | Top bracket to lowest pocket, then floor clearance | Low pockets strike the floor; high hooks cannot be reached safely |
Do not rely on a generic “standard door” description. Official product pages show why: different over-door products state different maximum door thicknesses and installation details. Compare your measurements with the exact model, including protective pads, screws, stabilizing straps, and any required assembly. If a dimension is missing, ask the manufacturer rather than treating a close photograph as evidence.
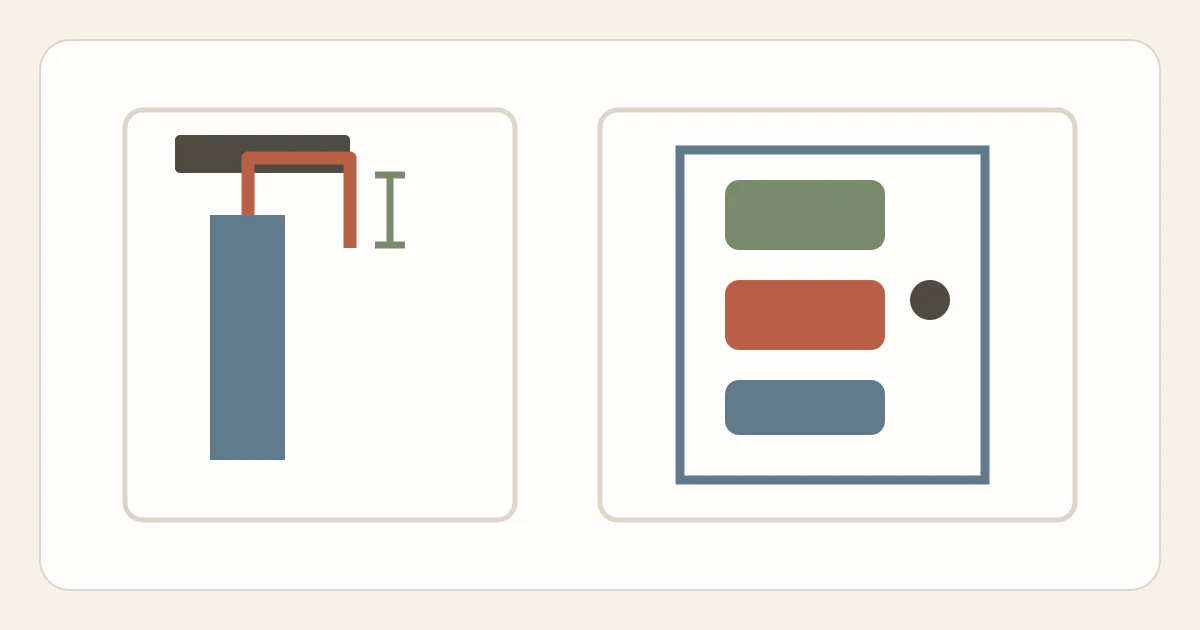
Door-clearance diagram
The side view separates door thickness from top gap; both matter. The front view keeps pockets away from the handle and floor. A third check—depth through the swing—must be made in the actual room.
Choose the organizer by job, not by pocket count
Simple hooks for a few light, frequent items
A short hook rack works when the job is specific: two robes, a daily bag, or a few hats. Check the model’s per-hook and total load, door fit, protective pads, and any screw requirement. Spread items as directed rather than hanging every heavy bag from one side. If hooks sit too high for a household member, the storage is not accessible even if it fits the door.
Fabric pockets for small, visible categories
Pockets can hold scarves, accessories, soft toys, or other lightweight groups. Measure the loaded bulge, not the empty fabric depth. Deep pockets filled with mixed items become opaque drawers on a moving surface. Give each row one category and keep daily items around comfortable reach height.
Rigid baskets for supplies that need shape
Rigid baskets make contents visible, but their depth and leverage can change how the door feels. Use only the contents and total load supported by the model instructions. Do not place glass jars, heavy canned goods, or cleaning chemicals in a generic rack merely because the basket can hold them physically. For food or kitchen supplies, a stable cabinet zone such as kitchen cabinet zones is usually easier to inspect.
Over-door shoe storage
Measure the longest and deepest pair and confirm the pockets will not force shoes against the wall during the swing. A shoe organizer can work on a closet door that stays open most of the day, but the same depth may be awkward on a bedroom or hall door used constantly. Daily shoes may still be better in the measured entry layout described in entryway storage without a closet.
Run a staged fit test
- Inspect the door first. Note loose hinges, rubbing, a door that already fails to latch, or damage at the top. Storage should not be used to mask a maintenance issue.
- Fit the organizer empty. Install it exactly as directed, including pads, screws, or stabilizers. Do not bend brackets to make them fit.
- Move the door slowly. Open and close it through the complete swing while watching the head jamb, wall, handle, and floor. Stop if anything catches or rubs.
- Add the intended category in stages. Begin with a small part of the planned load. Keep within the model’s stated limits and distribution instructions.
- Use the door for several days. Listen for new scraping, watch for movement, and confirm the latch still works normally. Remove the organizer if operation changes.
Rental questions to answer before installation
An over-door product avoids drilling only when its own installation does not require screws. Some products can be used over a door but also specify screws or pads for secure mounting. Read the full instructions, not only the product name. Check the lease for rules about doors, paint, hardware, and fire-rated assemblies. “No drill” does not guarantee no marks, and a protective pad does not make every finish compatible.
Photograph the door’s existing top edge and face before fitting anything. This is a condition record, not proof that an installation is allowed. If the door is common-property, an exit, or covered by building fire rules, ask management before adding hardware. Use rental-friendly wall storage checks for the same permission-surface-product sequence on walls.
What not to do
- Do not force a door closed over a bracket or file, bend, or hammer hardware to create clearance.
- Do not assume a hollow sound reveals a door’s construction or safe load.
- Do not hang an organizer over an exterior, fire-rated, security, or sealed door without explicit approval and instructions.
- Do not let pockets cover the handle, latch, lock, closer, hinge, sign, vent, or inspection label.
- Do not use adhesive strips as improvised structural support unless the organizer manufacturer specifies the exact product and method.
- Do not store breakable, hazardous, or spill-prone items where the moving door can drop or strike them.
A thirty-second door check
Once a week, close and latch the door normally, look at each bracket, and check whether the organizer has shifted. Return stray objects to their categories and remove anything heavier than the planned contents. Monthly, take the organizer down if the instructions allow, inspect pads and contact points, and clean both surfaces as directed. In a bathroom, include the moisture and material checks from bathroom storage without drilling.
FAQ
Will an over-the-door organizer damage paint?
It can mark, rub, or compress a finish when hardware fits poorly, moves, or lacks compatible protection. Product-supplied pads reduce contact only when installed as directed; they do not guarantee every paint or veneer. Check the lease, finish condition, and exact instructions, and stop if rubbing appears.
How much weight can an interior door hold?
There is no responsible universal number for this article. Door construction, hinges, condition, closer, organizer design, bracket spacing, and load distribution all matter. Use only the exact organizer’s stated limits on a door the building permits for that use.
Why does the door close when empty but scrape when loaded?
The organizer may shift under load, the bracket may rotate, or contents may pull it away from the face. Remove the load and re-check the fit and instructions. Do not keep forcing the door or add improvised shims.
Are over-door organizers good for small bathrooms?
They can be, when the door is outside direct spray, the material is approved for the conditions, and the rack does not interfere with the door or ventilation. Keep electrical, breakable, and label-controlled products out of unsuitable moisture zones. See bathroom storage without drilling for a full zone check.
Method notes
This article applies the Start Here method to one moving surface: measure the hardware path, choose one category, test empty, then add a controlled load. It avoids the common but unreliable coin and knock tests and does not invent a door capacity. Browse Rental-Friendly Living for more reversible-first decisions.
Sources
- IKEA, ENUDDEN hanger for door, official door-thickness measurements and assembly information — ikea.com/us/en/p/enudden-hanger-for-door-white-60251665
- IKEA, SKOGSVIKEN hook for door, official model-specific thickness options — ikea.com/us/en/p/skogsviken-hook-for-door-black-20423819
- Umbra, Estique over-the-door hook, official dimensions, door fit, and model load information — eu.umbra.com/products/estique-otd-hook
- U.S. Fire Administration, Make and Practice a Home Fire Escape Plan — usfa.fema.gov/gallery/escape-plan/make-practice-a-plan.html