What this guide covers
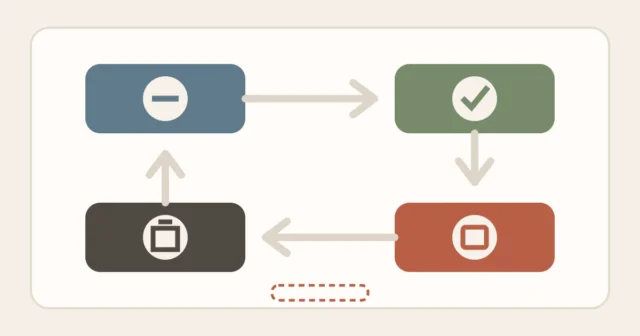
- Decide what the plan must answer
- Make a rough shell sketch first
- Measure in a repeatable order
- Use chained measurements as a built-in check
- Turn the measurements into a simple scaled plan
- Create furniture blocks from real dimensions
- Add a small set of vertical notes
- Test the plan in the room
- Keep one dated master and one working copy
- What not to assume
- FAQ
- Method notes
- Sources
To draw a useful floor plan of a room, measure the fixed shell before measuring furniture: wall runs, doors, windows, openings, radiators, vents, outlets and anything that projects into the space. Record each dimension beside a rough sketch, verify that connected measurements agree, then redraw the room at one simple scale. The result does not need to look professional; it needs to preserve the constraints that change a furniture decision.
Decide what the plan must answer
A floor plan for testing a sofa needs different detail from one for planning a desk outlet or a wardrobe door. Write the question at the top of the page. Examples include “Can the sofa face this wall while the balcony door opens?” and “Can a table and pulled-out chairs fit without entering the kitchen path?” This stops the sketch from becoming an architectural survey that never reaches a decision.
- Use one measuring tool consistently and note whether every number is inches or centimeters.
- Draw the room as viewed from above, even when the first sketch is not to scale.
- Give each wall, opening and obstacle a label that matches the measurement notes.
- Measure doors and windows in their fully used positions, not only when closed.
- Recheck any dimension that controls a purchase, route or safety decision.
Make a rough shell sketch first
Stand near the main entrance and draw the perimeter clockwise. A rectangle is fine only if the room is actually rectangular. Add shallow alcoves, angled corners, columns and changes in wall depth. Label the walls A, B, C and D, continuing with more letters where the perimeter changes direction. Add north or a fixed reference such as “toward kitchen” so the plan cannot be accidentally rotated later.
Draw doors as gaps in the wall with an arc showing the swing. Draw sliding doors with an arrow along the track. Mark windows as gaps or double lines and note the sill height separately when furniture may sit below them. The U.S. Fire Administration’s escape-planning guidance also uses a home map with doors and windows and says they should not be blocked. A furniture plan is not an escape plan, but it should preserve those features accurately.
Measure in a repeatable order
| Pass | What to record | Why this order helps |
|---|---|---|
| 1. Perimeter | Every wall run from corner to corner | Creates the outer shape before details compete for attention |
| 2. Openings | Distance from corner, opening width and remaining wall | Lets the three parts cross-check the complete wall |
| 3. Movement | Door arcs, sliding panels, drawers and access panels | Shows floor that cannot become permanent furniture space |
| 4. Projections | Radiators, trim, columns, hearths and deep sills | Corrects a wall that looks clear at eye level but is not |
| 5. Services | Outlets, switches, vents, controls and cable entries | Supports use without promising electrical or HVAC changes |
| 6. Height notes | Sills, rails, sloped ceilings and low obstructions | Adds the vertical facts a top view cannot show |
Use chained measurements as a built-in check
On a wall with one window, record the left wall segment, window opening and right wall segment, then record the whole wall separately. The three smaller numbers should reasonably match the overall dimension within the accuracy of the tool and surfaces. If they do not, repeat the wall before drawing to scale. Do the same around a doorway or alcove.
Measure from consistent reference points. For example, use finished wall to finished wall rather than switching between trim edges and structural guesses. Note where thick baseboards or irregular molding create a smaller furniture footprint. A laser or tape can both produce useful readings, but neither decides what surface was measured; write that down.
Use diagonals only to investigate an uncertain shape
If a room that appears rectangular produces conflicting furniture clearances, measure both corner-to-corner diagonals as an additional check. Different readings can signal that the shell is not square or that the chosen corner points were inconsistent. Do not “correct” the room by averaging them. Return to the perimeter, measure the relevant furniture zone directly, and mark any angled or uneven condition on the plan. A diagonal is evidence that another measurement deserves attention, not a structural diagnosis.
Photograph the tape position at the dimensions that control the decision, without including private paperwork or people. A number such as 42 can later lose its meaning; a labeled image can show whether it was taken between finished walls, trim edges or baseboards. Keep the photo with the dated master plan and repeat the reading before ordering a tight-fit item.
Turn the measurements into a simple scaled plan
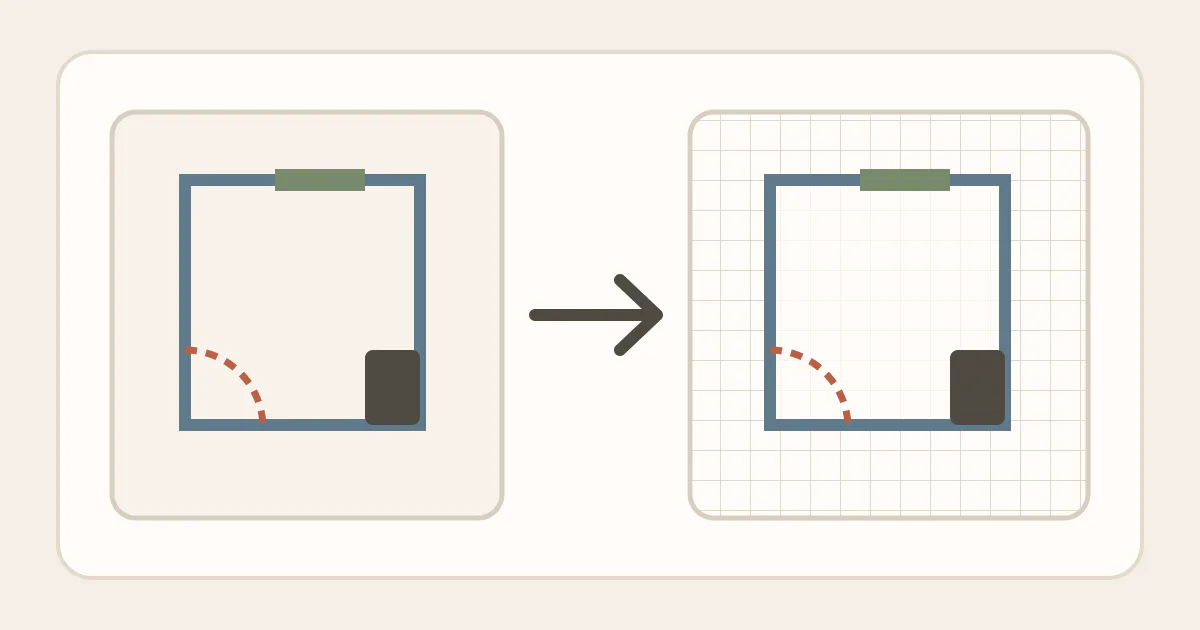
The clean plan preserves the relationships from the field sketch. It is a planning example, not a construction drawing or code document; verify every controlling dimension in the real room.
Choose a scale that fits the page and is easy to repeat. On graph paper, one square might represent a fixed length. Write the scale beside the drawing. Convert every real dimension using the same rule, draw the perimeter, and add openings by their distance from a known corner. Do not shrink one long wall differently just to make the room fit.
Create furniture blocks from real dimensions
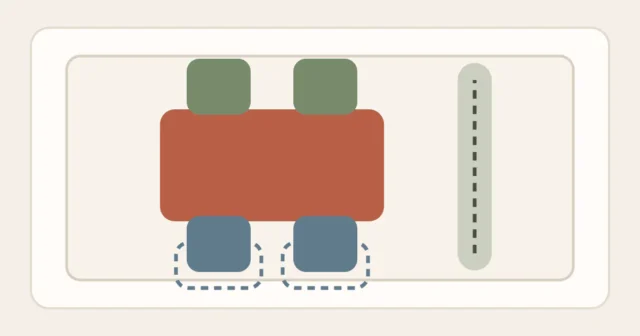
Measure each item at its widest, deepest and tallest relevant point, including arms, feet, handles and cable bends. Draw or cut a rectangle at the same scale and label it. Add a second outline for movement such as a recliner opening, desk-chair roll or cabinet door. A dining table block without its pulled-out chairs is not a complete working footprint.
Move the blocks on paper before moving the real furniture. Keep the room’s doors, windows, vents and access panels visible. Use furniture fit-path guide separately for the delivery route through halls, stairs and elevators; fitting on the floor plan does not prove the item can reach the room.
Add a small set of vertical notes
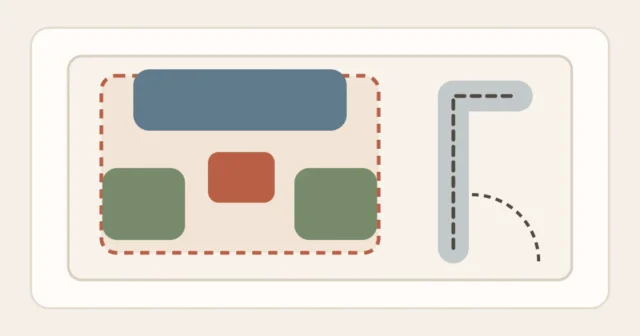
A top view cannot show whether a sofa back covers a sill or a wardrobe meets a sloped ceiling. Create a margin list with sill height, radiator height, available wall height, outlet height where relevant and any low ceiling edge. Measure only what affects the current question. For detailed bedroom testing, combine the plan with 10×10 bedroom layout guide; for an open room with several functions, use studio-apartment zone guide.
Test the plan in the room
- Mark the proposed furniture corners with surface-compatible removable markers or loose paper.
- Open every door, drawer, window and moving furniture part in the marked layout.
- Walk the normal routes while carrying the ordinary objects used there.
- Check outlets, vents, controls and cleaning access from the real standing position.
- Correct the drawing when the room reveals a missed projection or measurement.
The plan is a hypothesis. The full-size room test is evidence. If a route feels awkward, update the block rather than forcing the measured plan to “win.” The specialized small living-room layout guide uses this process for seating, tables and media furniture.
Keep one dated master and one working copy
Write the measurement date and unit on the master. Keep photographs of unusual corners or fixed features with the same labels used on the plan. Make furniture experiments on a copy so the shell stays readable. Recheck the room after renovations, new flooring, changed trim or any repair that could alter a controlling dimension.
What not to assume
- Do not assume opposite walls are equal or corners are square.
- Do not infer a hidden wall, pipe, cable or structure from a floor-plan line.
- Do not use a property listing plan as the final measurement for furniture.
- Do not omit door, chair and drawer movement because the closed footprint fits.
- Do not treat a digital room planner’s successful placement as proof of delivery, installation or safe anchoring.
FAQ
Do I need graph paper to draw a room plan?
No. Plain paper works if one written scale is applied consistently. Graph paper makes repeated spacing easier, while a digital planner can help with blocks. The accuracy still depends on the real measurements and correctly placed obstacles.
Should I measure in inches or centimeters?
Use the unit that matches the tools and product information you will compare, and write it clearly on every page. Avoid mixing units within one plan. Convert a product dimension once and record the converted value rather than estimating it repeatedly.
How exact does a furniture floor plan need to be?
It should be accurate enough to reveal conflicts and shortlist layouts, with controlling dimensions rechecked before a purchase. Build in real operating space rather than drawing furniture tightly against every line. The full-size room test remains essential.
Can an online room planner replace measuring?
No. A planner can organize the numbers and show alternatives, but it cannot see an unrecorded baseboard, handle, slope or uneven wall. IKEA’s planner overview likewise describes adding details such as windows, outlets and pipes; those inputs still have to come from the room.
Method notes
This guide applies the Start Here method to creating one reusable room record: sketch the shell, measure in a fixed order, cross-check connected dimensions, draw one scale and test full size. It complements furniture fit-path guide, studio-apartment zone guide and the broader Layouts & Routines system without presenting the result as a construction document.
Sources
- U.S. Fire Administration, home escape-plan mapping with doors and windows kept unblocked — usfa.fema.gov/prevention/home-fires/prepare-for-fire/home-fire-escape-plans
- U.S. Consumer Product Safety Commission, Anchor It! furniture and television tip-over guidance — cpsc.gov/Safety-Education/Safety-Education-Centers/AnchorItgov
- IKEA, official room-planner overview describing detailed plans with windows, outlets and pipes — ikea.com/us/en/planners