What this guide covers
Plan a 10×10 bedroom on paper before you move a single piece of furniture: measure your actual room, sketch it on a scale grid, and test furniture placement against your own chosen circulation clearance. “10×10” here means a nominal, 10-foot-by-10-foot example room — a planning reference, not a promise that your room’s usable interior is exactly that size. Measure your own walls before assuming any example applies directly. The Start Here method guide covers this same measure-first approach for a whole apartment.
Quick plan
- Measure your actual room rather than assuming it matches any example.
- Sketch the room to scale before moving anything physically.
- Choose your own circulation clearance rather than assuming one mandatory number.
- Keep door swing, closet access, and windows fully clear on the plan.
- Plan the furniture-movement path separately from the finished layout.
Measure and check before you move anything
Constraints table
| Element | What to measure | Reader-chosen or required? | Notes |
|---|---|---|---|
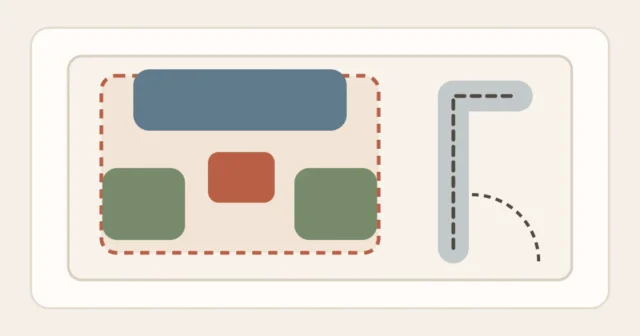
| Door swing | Arc radius and direction the door opens | Required — cannot be reduced by the plan | The full swing must stay clear on the sketch, not just the doorway itself |
| Closet access | Clear opening width and whether doors slide, fold, or swing | Required | Sliding, folding, and swinging doors use different clearance patterns; measure the actual type |
| Circulation clearance around the bed | Space to walk, change linens, and get in and out comfortably | Reader-chosen planning clearance | There is no single mandatory number; choose based on your own comfort and test it |
| Vents/radiators | Location and any clearance the manufacturer or your building specifies | Required, per applicable instructions | Follow the equipment’s own clearance requirement rather than a general guess |
| Furniture-movement path | Width of the path furniture must travel from the door to its final spot | Required to check, not optional | A layout that fits on paper does not guarantee furniture can reach that spot — see the worked example below |
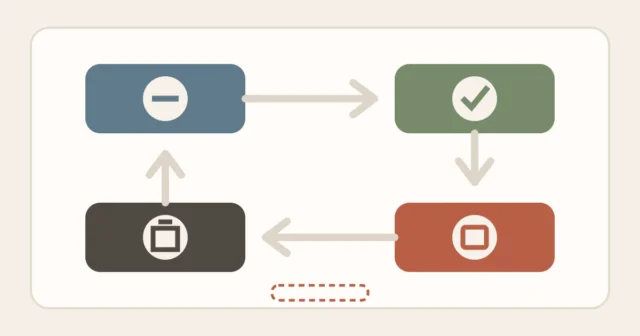
The decision process, in order
- Measure the real room. Wall lengths, door swing, closet type, window locations, and any fixed equipment clearance.
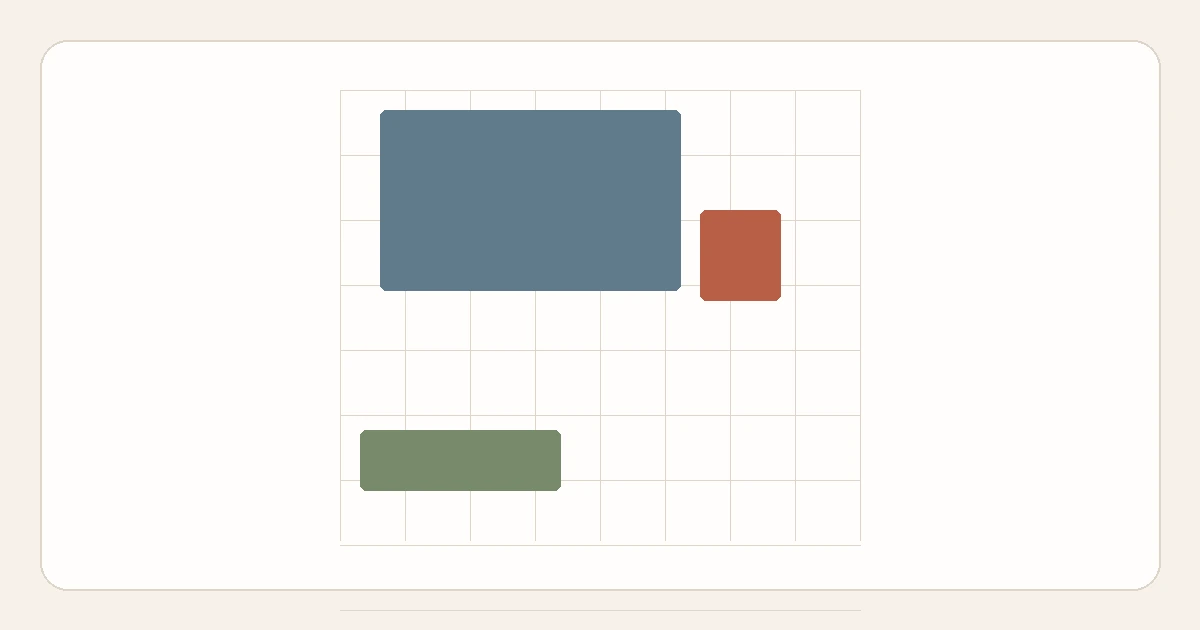
- Choose a scale and sketch the room. A simple 1-square-foot grid works well for a bedroom-sized space; each square represents one foot in both directions.
- Add fixed constraints to the sketch first. Door swing, closet access, and windows go on the plan before any furniture, since these cannot move.
- Choose your own circulation clearance. Decide how much space you want around the bed and between furniture, and apply that consistently across the sketch — this is your planning choice, not a code requirement.
- Place furniture on the sketch to scale. Use your furniture’s actual dimensions, or clearly labeled example dimensions if you are still shopping.
- Check the movement path before buying or physically moving anything. Confirm the door, hallway, and turns along the way can actually pass the furniture’s real dimensions — a plan that fits the room does not guarantee the path to get there does.
Scale grid
Each square equals one foot. The bed, nightstand, and dresser are example placements only — swap in your own furniture’s real dimensions once you have them, and always keep the door’s swing arc clear on the sketch. The same to-scale, measure-first thinking applies if your bedroom shares space with another function, such as a work corner.
Circulation-clearance worksheet
This is a fill-in worksheet. The clearance column is your own planning choice; the required column is fixed by the door, closet, or equipment itself and is not something you adjust.
| Area | Your chosen clearance | Required clearance (if any) | Fits your measured room? |
|---|---|---|---|
| Example: foot of the bed | 30 in / 76 cm, chosen for comfortable walking | None — this is a planning choice | Yes, within the measured 120 in / 304.8 cm depth |
| Door swing | N/A — not a planning choice | Full swing arc, measured from the door itself | Record yes or no from your sketch |
| Closet access | N/A — not a planning choice | Clear opening per the door type | Record yes or no from your sketch |
| Your own choice, e.g. beside the bed | Record the space you want | Note any fixed requirement nearby, if applicable | Record yes or no from your sketch |
A worked example, using labeled example dimensions
This worked example uses a 60 in / 152 cm by 80 in / 203 cm bed footprint, matching the current Queen mattress dimensions listed by Sleep Number, alongside clearly labeled example furniture. Exact product dimensions vary, so confirm your own before relying on these numbers. Once the floor layout is settled, using vertical storage without crowding a room covers the same to-scale thinking applied to wall space above the furniture.
| Item | Example dimensions | Placement in the nominal 120 in / 304.8 cm room |
|---|---|---|
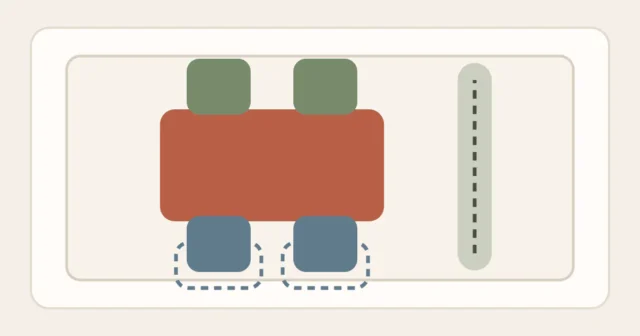
| Example bed footprint | 60 in / 152 cm wide × 80 in / 203 cm long | Centered on the back wall, leaving 30 in / 76 cm on each side |
| Chosen foot-of-bed clearance | 30 in / 76 cm (reader’s own choice for this example) | 80 + 30 = 110 in / 279 cm of the room’s 120 in / 304.8 cm depth used, leaving 10 in / 25 cm remaining |
| Example nightstand | 20 in / 51 cm wide × 16 in / 41 cm deep | Fits within the 30 in / 76 cm gap beside the bed, leaving about 10 in / 25 cm to the side wall |
| Example dresser | 34 in / 86 cm wide × 18 in / 46 cm deep | Placed along a side wall, outside the door’s swing arc |
The math above confirms the bed and its chosen clearance fit within the nominal depth, and that the nightstand fits the remaining side gap — but this only confirms the finished layout fits on paper. It does not confirm the bed frame, mattress, or dresser can physically travel through your door and hallway to reach that spot; check the movement path separately using your furniture’s real, unpackaged dimensions.
What not to buy or change yet
- Do not buy furniture sized to a nominal “10×10” assumption before measuring your actual room.
- Do not assume a layout that fits on the scale grid guarantees the furniture can physically reach that spot through your door and hallway.
- Do not block a door’s swing, a closet’s operation, a window, or a vent’s required clearance to fit a layout that otherwise looks efficient on paper.
- Do not treat any single circulation clearance number as mandatory; it is a planning choice you can adjust to your own comfort and room.
A repeatable review method
- Before moving furniture: re-check the sketch against your actual measured room one more time, since a small error compounds across multiple pieces of furniture.
- After the furniture is in place: use the layout through an initial trial period and confirm the chosen clearances still feel workable in daily use, not just on paper.
- Whenever you add or replace a piece: re-measure and re-sketch rather than assuming a new item will fit the old plan’s gaps.
FAQ
Does “10×10” mean my room is guaranteed to be exactly that size?
No — “10×10” is the nominal planning description used in this guide, and your usable interior dimensions may differ once trim, closets, and door swings are accounted for. Always measure your own room rather than assuming the nominal figure is exact.
Is there a correct amount of space to leave around a bed?
There is no single mandatory number; this guide treats it as a planning choice based on your own comfort and how you actually move through the room, not a fixed requirement.
If the furniture fits on my scale drawing, will it definitely fit through my door?
Not necessarily — a floor plan only confirms the finished footprint fits the room, not that the item can travel the actual path to get there. Measure the door, hallway, and any turns using the furniture’s real dimensions before assuming it will make the trip.
Can I use this same method for a room that is not close to 10×10?
Yes — the scale-grid method works at any room size; adjust the grid to your own measured dimensions rather than the nominal 10-foot reference used in this guide’s examples.
Method notes
This guide applies the Start Here method guide to a bedroom specifically: measure the real room, plan on paper to scale, and separate a reader-chosen comfort clearance from any genuinely required one. It deliberately treats “10×10” as a nominal planning reference rather than a guaranteed dimension, and does not present a universal room-layout standard or a guaranteed furniture-fit outcome. For wall-mounted storage once the floor layout is settled, see using vertical storage without crowding a room or rental-friendly wall storage, or browse Layouts & Routines for more of this method applied to other rooms.
Sources
- Sleep Number, Queen mattress dimensions (60 × 80 in; product dimensions can vary by model) — support.sleepnumber.com/hc/en-us/articles/233071868-Bed-Buying-Guide
- U.S. Consumer Product Safety Commission, Anchor It! furniture and TV tip-over prevention program — cpsc.gov/Safety-Education/Safety-Education-Centers/AnchorItgov