What this guide covers
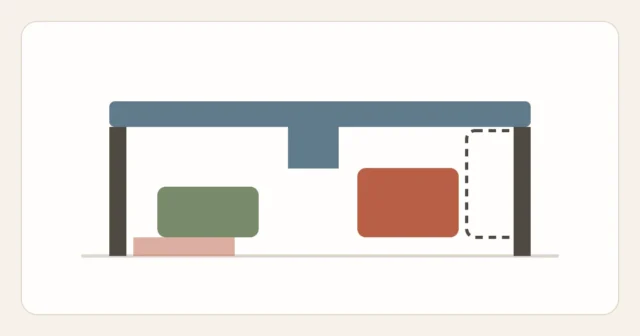
A closet is not required for a useful entryway. Start with the actual wall width, door swing, required clear route, and the few items that truly need to land there. The 24-, 36-, and 48-inch (61-, 91-, and 122-cm) sketches below are comparison templates, not standard entry sizes or guaranteed furniture fits; adapt only the elements that leave the door, exit route, and controls fully usable.
Quick plan
- Measure your entry wall width and the door’s swing path first.
- Assign one hook and one landing spot per household member before adding more.
- Keep storage out of the walking and exit route rather than planning to step over it.
- Match your layout to your actual wall width instead of copying a wider entry’s setup.
- Check the door swing and any hardware weight rating before mounting anything.
Measure and check before you buy anything
Constraints table
| Element | Typical space | Access needed | Surface / lease note | Added cost | Use frequency |
|---|---|---|---|---|---|
| Wall hooks | Measure the item width, hook spacing, and door clearance | Daily | Lease, surface, product instructions, and stated load all control | Low | High |
| Shallow tray or bowl surface | Any flat ledge, shelf, or slim console top | Daily | None if placed, not mounted | Low | High |
| Slim bench or stool | Measure width and depth against the remaining clear route | Daily | Freestanding; verify stability and intended use | Moderate | High |
| Over-door rack | Match the exact door thickness, top gap, trim, and swing | Daily | Use only when the door and rack instructions allow it | Low | Medium |
The decision process, in order
- Rearrange before you buy anything. Check whether a nearby shelf, a hallway wall, or an underused piece of furniture could take on the entryway’s job instead of a dedicated new purchase.
- Inventory what actually needs to land here. Write down what your household drops at the door on an ordinary day — perhaps keys, one bag, current outerwear, mobility items, or daily shoes. Keep the list household-specific and move occasional or seasonal categories elsewhere rather than assuming every entry needs the same objects.
- Reduce before you add fixtures. Fewer coats on rotation and fewer pairs of daily shoes make a small entry work far better than more hooks or a bigger tray ever will.
- Measure your actual wall width and door swing. This determines which of the layouts below fits — do not assume a 36-inch layout will work in a 24-inch space.
- Choose the lowest-impact option first. A placed tray or stable freestanding piece avoids mounting, while an adhesive product is still a surface-specific installation that can fail or mark a wall if its instructions are not followed. Test the daily routine before committing to more hardware.
- Only then, consider wall-mounted hardware. Confirm the lease, wall assembly, concealed-utility risk, complete product instructions, and intended load. If the instructions do not clearly cover the wall or the area may contain wiring, plumbing, or a fire-rated assembly, stop and use qualified help or choose a freestanding option.
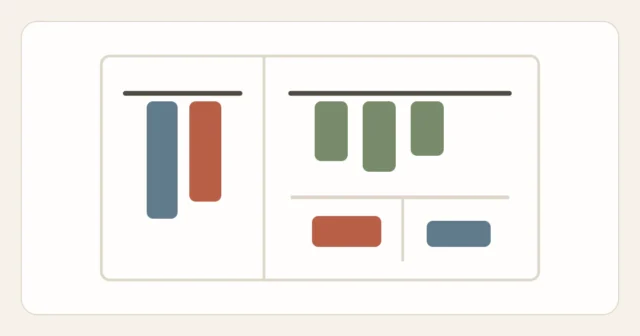
24-, 36-, and 48-inch layout sketches
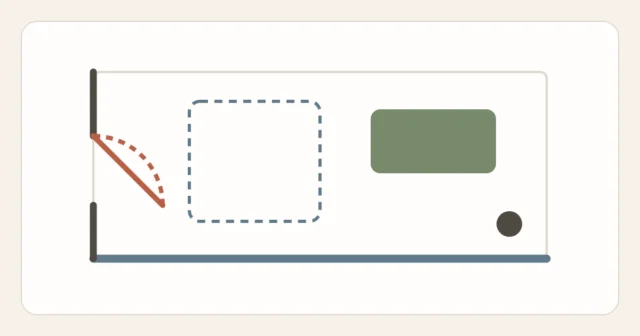
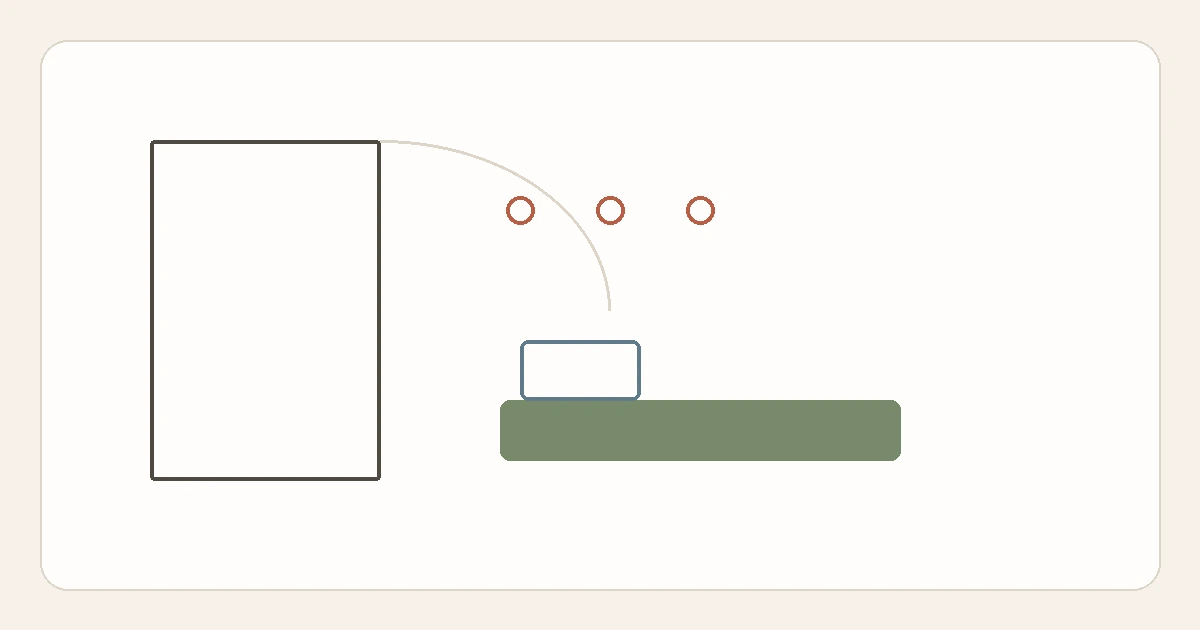
Each panel is a scale concept showing how the number of elements can change as wall width changes. It does not prescribe shelf height, hook spacing, furniture depth, route width, or mounting method. Measure those separately for the people, door, wall, and products in your home; your entry may fall between these references or need none of the shown furniture.
Three widths, matched to what fits
24 inches / 61 cm: hooks and a shelf only
Use this narrow sketch to test a minimal arrangement: perhaps one or two daily hooks and a small landing surface, only if the route and door remain clear. Do not infer fit from wall width alone; a deep object or tight door swing can make even the drawn shelf unsuitable.
36 inches / 91 cm: add a slim stool or narrow stand
This middle sketch adds a small freestanding footprint to the hook-and-landing-zone idea. Tape the full width and depth on the floor and open the door through its normal swing before deciding whether any stool or shoe stand belongs there.
48 inches / 122 cm: room for a low bench
This wider sketch shows how a low bench might replace a smaller stool when width and depth both permit it. It is not a recommendation to fill the wall: confirm the bench’s full footprint, stability, intended seating use, and effect on the clear route before keeping it in the plan.
Sharing the entry across a household
When more than one person uses the entry, named hooks or landing spots can make the limited capacity visible. If an assigned spot overflows, first check whether seasonal or occasional items can move elsewhere; then recheck the measured capacity and the household’s access needs. Do not force essential mobility, work, school, or caregiving items out of reach simply to preserve a tidy count.
Traffic-path checklist
- The door can open to its normal full swing without hitting any new furniture.
- The walking path stays wide enough for one person to pass comfortably with a bag.
- No item sits directly on the floor where it becomes a tripping hazard in low light.
- Outlets, switches, thermostats, and any heater stay fully reachable and unobstructed.
- The layout does not block a secondary exit, if one exists near the entry.
- Any wall-mounted piece is within its confirmed load rating for the wall type.
What not to buy or change yet
- Do not buy a bench or console sized for a wider entryway than yours and plan to “make it fit” — measure first, then shop to the confirmed footprint.
- Do not mount a heavy coat rack or shelf with adhesive strips rated for light items only; match the hardware’s stated rating to the actual expected load.
- Do not remove door stops, thresholds, or trim to gain space; these usually serve a function beyond storage.
- Do not add a shoe tray or mat that extends into the walking path even by a few inches — narrow entries have little margin for this kind of creep.
A repeatable reset routine
- Daily: hang or place items in their assigned spot immediately on entry rather than staging them for later.
- Weekly: clear anything that has migrated to the floor and return seasonal items to their proper zone.
- Seasonally: swap the outerwear on rotation so the entry only ever holds what the current season actually needs.
FAQ
What if my entry is narrower than 24 inches?
Scale down the 24-inch template further: test one or two hooks and omit the shelf if it would narrow the path, or move the landing surface to an adjacent wall segment if one exists. In a very narrow entry, one correctly installed hook at a reachable height plus an existing nearby surface may cover the daily need without adding furniture.
Should hook height change for kids or for reach limitations?
Yes — place at least one hook or shelf at a height that is actually comfortable to reach for everyone using the entry, rather than defaulting to a single adult-height row. A lower hook for a child’s coat, or a lower landing spot for anyone who has difficulty reaching an overhead hook, makes the whole system more likely to actually get used instead of becoming another spot where things pile up on the floor.
Can I use a doormat and a tray instead of hooks?
Yes, if outerwear is not part of your daily entry routine. Match the layout to what your household actually drops at the door rather than a standard list.
Should shoes stay at the entry or move to a closet elsewhere?
Keep only the shoes that genuinely need to be available at the door and that fit without entering the route. Move off-season or rarely used pairs to another measured zone if one exists — see where to store luggage in a small apartment and a small linen closet layout for ways to rank nearby low-frequency categories.
Is an over-door rack a good option if I rent?
It can be, but “no drilling” is not the only test. Confirm that the exact rack fits the door thickness and top gap, stays within its stated load, does not affect the latch, closer, hinges, peephole, trim, or full swing, and is permitted by the lease and door instructions. Use the complete over-the-door clearance check before choosing a rack.
Method notes
This guide applies the Start Here method guide to the entry specifically: measure the wall, depth, door swing, and clear route; inventory what truly needs to land there; reduce seasonal overflow; and test the lowest-impact option that fits. The 24-, 36-, and 48-inch drawings are deliberately spaced reference sketches, not standard entry sizes or fit guarantees. For the vertical-space thinking behind hook and shelf placement, see using vertical storage without crowding a room; for the same reduce-before-you-buy approach elsewhere, see organizing a small apartment without buying more bins or browse Small-Space Storage.
Sources
- U.S. Fire Administration, guidance for high-rise residents to keep exits unblocked — usfa.fema.gov/blog/protecting-people-who-live-or-work-in-high-rises
- Command™ Brand (3M), model-specific hook application instructions — command.com/3M/en_US/command/how-to-use/all-other-hooks
- Command™ Brand (3M), product-specific weight-limit guide — command.com/3M/en_US/command/how-to-use/product-weight-limits
- U.S. Consumer Product Safety Commission, Anchor It! furniture and TV tip-over prevention program — cpsc.gov/Safety-Education/Safety-Education-Centers/AnchorItgov