What this guide covers
- Quick plan
- Measure and check before you buy anything
- Constraints table
- The decision process, in order
- Multi-stage path diagram
- Furniture-fit path checklist
- A worked measurement example
- Furniture Fit Path planning worksheet
- What not to buy or change yet
- A repeatable review method
- FAQ
- Method notes
- Sources
Before buying furniture, measure the entire path it has to travel — not just the room it will end up in. That means the item’s real dimensions, the doorway’s clear opening, hallway width, any turns, stairs, and the elevator if one is involved, all the way to the final placement spot. No amount of careful measuring can fully guarantee a fit, since pivots, packaging, and real-world obstacles all affect the outcome — but measuring the full path first is what actually prevents a delivery that has to turn around at the door. The Start Here method guide covers this same measure-before-you-buy principle more broadly.
Quick plan
- Get the item’s real dimensions, packaged and unboxed.
- Measure every stage of the path, not just the final room.
- Check doorway clear opening, not the frame’s outer dimension.
- Account for turns, stairs, and elevator geometry along the way.
- Remember that no simple measurement comparison can guarantee a fit.
Measure and check before you buy anything
Constraints table
| Stage | What to measure | Common trap |
|---|---|---|
| The item itself | Width, depth, height — packaged and unboxed if both are listed | Packaged dimensions are often larger than the assembled item, but not always smaller |
| Doorway | Clear opening width and height, door fully open | The frame’s outer measurement is not the same as the usable clear opening |
| Hallway | Width at its narrowest point, not the average | A hallway can narrow at a light fixture, radiator, or fire door |
| Turns | Angle and width available to pivot the item | A tight 90-degree turn often needs more room than the hallway width alone suggests |
| Stairs/landing | Width, height clearance, and landing size where the path turns | A landing that is too small forces an awkward mid-turn lift |
| Elevator | Door opening and interior cab dimensions | Interior dimensions are often smaller than the door opening suggests |
| Final room | Entry opening and placement area | Fitting the final spot does not confirm the item can reach it |
The decision process, in order
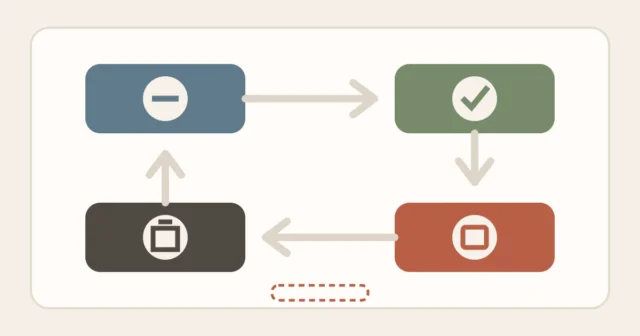
- Get the item’s real dimensions. Use the manufacturer’s listed width, depth, and height, and note both packaged and unboxed figures if provided. If a component is described as detachable, only treat it as removable if the manufacturer explicitly says so.
- Map the full path in stages. Building entrance, hallway, any turns, stairs or elevator, and the final room — measure each stage separately rather than assuming the tightest point is obvious.
- Measure each stage’s actual clear space. Doorway clear opening, hallway width at its narrowest point, turn geometry, and elevator interior dimensions if applicable.
- Compare the item’s dimensions to the tightest stage. The narrowest point in the whole path — not the final room — usually determines whether the move is realistic.
- Account for what simple numbers cannot show. Pivoting an item through a turn, the exact position of door hinges, and real-world obstacles like handrails all affect the outcome in ways a straight width comparison does not capture.
- Only then, confirm the purchase and delivery details. Ask the retailer or delivery service what happens if the item cannot be delivered as planned, since this guide’s checklist does not replace their own delivery policy.
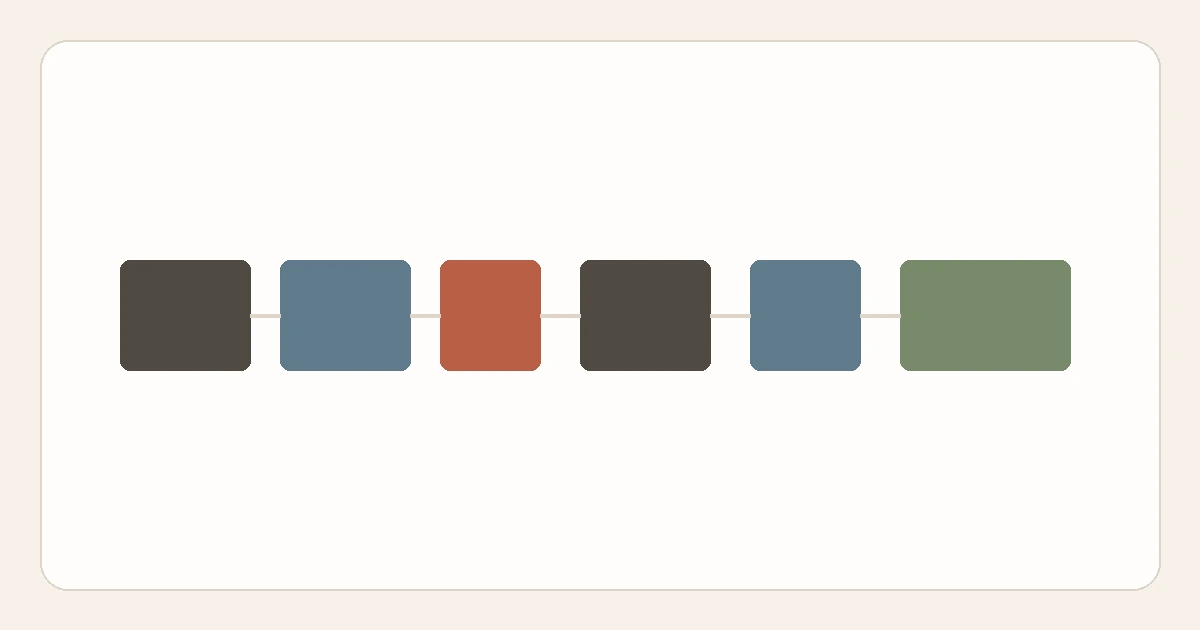
Multi-stage path diagram
Each stage is a separate measurement, and the tightest one — not the final room — usually decides whether a piece of furniture can actually reach its spot. Skip a stage in your own home if it does not apply, but do not assume it is fine without checking.
Furniture-fit path checklist
- Item dimensions recorded, packaged and unboxed if both are listed.
- Every doorway’s clear opening measured, not the outer frame.
- Hallway measured at its narrowest point, including fixtures.
- Every turn’s angle and available pivot space checked.
- Stairs and landing geometry checked, if the path includes them.
- Elevator door and interior dimensions checked, if applicable.
- Final room opening and placement area measured separately from the path.
A worked measurement example
This is a labeled example, not a guarantee — always use your own item’s and building’s real numbers, the same measure-first standard used throughout Layouts & Routines. Say a sofa’s manufacturer lists it as 84 in / 213 cm wide, 38 in / 97 cm deep, and 34 in / 86 cm tall, with no listed detachable parts. The tightest stage measured is a hallway doorway with a clear opening of 32 in / 81 cm. On its own, the sofa’s 38 in depth is larger than the 32 in opening, so that 38-inch dimension cannot pass straight through the opening without changing the item’s orientation. Tilting or pivoting changes which dimensions meet the opening, but a simple comparison or diagonal calculation still cannot prove that the full three-dimensional move will work. When the path is tight or the turn geometry is uncertain, confirm the route with the retailer’s delivery team or experienced movers before delivery rather than treating the worksheet as a fit guarantee.
Furniture Fit Path planning worksheet
Use the fields below as a written planning aid for the full route from delivery point to final placement. Record the real measurements for your item and building; the worksheet organizes the checks but does not guarantee that a three-dimensional move will work.
| Field | Purpose | Notes |
|---|---|---|
| Item width, depth, height | The furniture’s own dimensions | Packaged and unboxed values, where both are available |
| Doorway clear width and height | The usable opening at each doorway along the path | Repeatable per doorway, since a path may include several |
| Hallway width | Narrowest point along each hallway segment | Should prompt the user to check the full length, not one spot |
| Turn constraints | Angle and available pivot space at each turn | A numeric-only field cannot fully capture real turn geometry |
| Elevator door and interior dimensions | Where a move includes an elevator | Both figures matter; a wide door does not guarantee a wide cab |
| Final room dimensions | Entry opening and placement area | Calculated separately from the path itself |
Simple numeric comparisons cannot model every real movement path. Pivoting, packaging, handles, legs, other removable components, door hardware, stair turns and elevator geometry can all affect a real result in ways a worksheet cannot fully predict.
What not to buy or change yet
- Do not buy furniture based on the final room’s dimensions alone without checking the full delivery path.
- Do not assume a component is removable unless the manufacturer’s own instructions say so; do not attempt to disassemble furniture without manufacturer guidance.
- Do not remove a building door, railing, window, or other structural component to make a delivery fit.
- Do not assume a retailer or manufacturer will accept a return solely because a self-measured plan suggested the item would fit.
A repeatable review method
- Before every furniture purchase: re-run the full path check, even for a building you have moved furniture into before — layouts, elevators, and available paths can change.
- When ordering online: confirm both packaged and unboxed dimensions from the listing, and contact the retailer directly if either is missing.
- On delivery day: have your own measurements on hand to compare against what the delivery team proposes, rather than relying on memory.
FAQ
Can I just measure the diagonal of the doorway to know if something will fit?
A diagonal measurement can be one useful data point, but it does not by itself prove a move is possible — real furniture is rigid in more than one dimension, packaging and hardware add bulk, and the exact angle needed to pivot through a doorway depends on the room on both sides, not just the opening.
What if the manufacturer only lists packaged dimensions?
Contact the manufacturer or retailer for unboxed dimensions if the packaged size is close to any stage in your path; packaged dimensions are not a reliable stand-in for the assembled item’s real footprint.
Should I add a standard number of inches of buffer to every measurement?
This guide does not provide a universal buffer rule, since the right margin depends on the item’s rigidity, the exact turn geometry, and how much room movers have to maneuver — treat each stage individually rather than applying one fixed number everywhere.
Is it worth measuring the elevator if the building says it’s “furniture-sized”?
Yes — treat “furniture-sized” as a description rather than a usable measurement and confirm the actual door opening and interior cab dimensions before relying on it.
Method notes
This guide applies the Start Here method guide to the delivery path specifically: measure the item, map every stage, and treat a fit as unconfirmed until the tightest point has been checked. It deliberately does not provide a universal “add X inches” rule, does not claim diagonal math alone proves a move is possible, and does not guarantee any outcome. Once the item can reach the room, use drawing a simple measured room floor plan to test its working footprint. For wall and vertical space, see using vertical storage without crowding a room; for the same reduce-and-measure approach to what you own, see organizing a small apartment without buying more bins, or browse Layouts & Routines.
Sources
This article is a measurement methodology rather than a set of claims tied to a specific product, building code, or safety authority, so no external citation is used. Item dimensions should always come from that exact product’s own manufacturer listing rather than a general assumption, and disassembly should only follow that manufacturer’s own instructions.