What this guide covers
A studio gets usable zones without room dividers when furniture placement, rugs, lighting, and storage edges do the work of separating functions, while circulation stays clear between them. This is a layout method, not a promise of privacy or sound isolation — a rug or a bookcase can visually group a space without turning one room into two. If you have not yet measured the apartment at all, the Start Here method guide covers that first step in more depth.
Quick plan
- Map existing circulation, windows, doors, and closets before placing anything.
- Assign zones by function — sleep, work, eating, storage — not by furniture you already own.
- Use furniture placement, rugs, and lighting to group zones visually.
- Keep every window, door, vent, and access panel fully usable.
- Do not expect a rug or shelf to create privacy or block sound.
Measure and check before you change anything
Constraints table
Use this as a starting reference for four common zone types; keep only the ones your own routine actually requires.
| Zone | Typical space need | Circulation impact | Common visual grouping method |
|---|---|---|---|
| Sleep | Bed footprint plus space to change linens and walk around at least one side | Should not sit in the main walking path between the door and other zones | Rug, headboard or bed placement, a change in lighting |
| Work, if needed | A small desk or surface plus chair clearance | Best away from the busiest circulation route | Facing the desk away from the main sightline, a lamp instead of overhead light |
| Eating/prep | Table or counter-adjacent space sized to actual use | Often shares a path with the kitchen; keep it clear between meals | A rug or the kitchen counter’s own edge as the boundary |
| Storage/landing | Whatever shelving, closet, or entry surface you already have | Best near the door, without narrowing the entry path | Furniture back or side used as a visual edge |
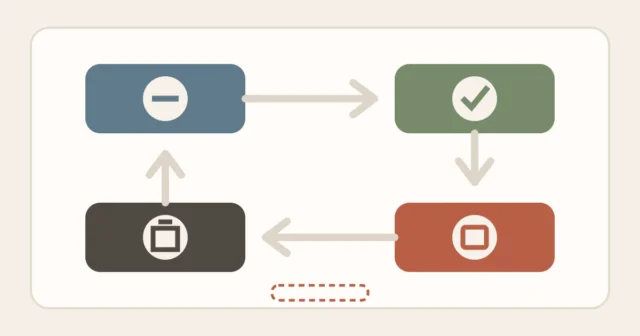
The decision process, in order
- Map fixed circulation first. These are the paths you cannot zone around — door to kitchen, door to bathroom, and any path a household member with different needs relies on.
- List the functions you actually need. Not every studio needs a distinct work zone or eating zone; base the list on your real routine rather than a generic template.
- Assign each function a spot that does not block circulation, a window, or equipment access. A zone that technically fits but blocks a vent or a window is not a usable zone.
- Choose a visual grouping method per zone. A rug under the bed, a different light source over the desk, or the back of a bookcase facing the sleep zone can all signal “this is a different area” without a physical divider — see using vertical storage without crowding a room for using wall or vertical space as part of that grouping without crowding the room.
- Test the layout before committing. Use the furniture in its planned spot for an initial trial period before treating the zoning as final, since a plan that looks right on paper can still feel wrong once you are moving through it daily. Pay particular attention to whether the sleep zone still feels separate once the room is lived in, not just photographed empty.
- Only then, consider added storage or decor for the zone edges. A shelf or a lamp that reinforces a zone boundary is a reasonable last step, not a first one.
Three example zoning plans
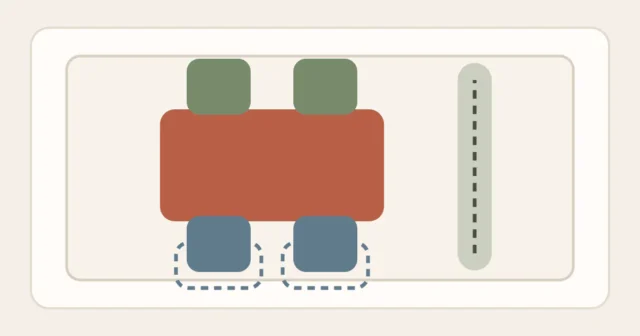
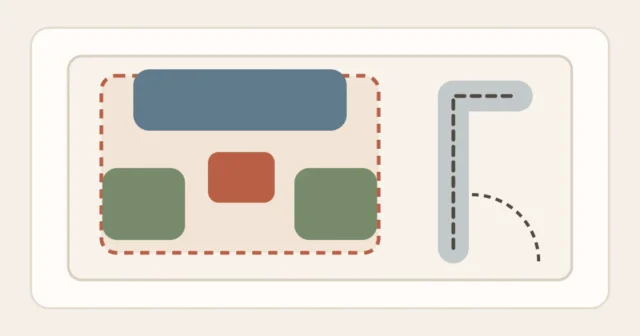
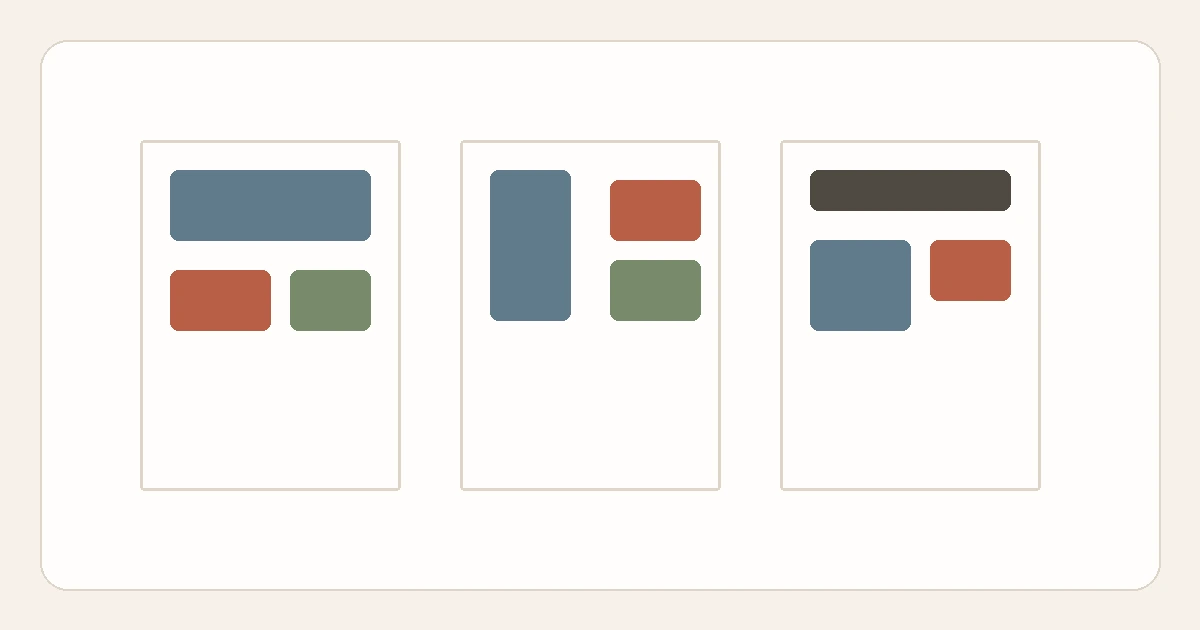
These are examples to illustrate the method, not universal “best” layouts — your own room’s proportions, window placement, and closet location will change what actually works. Dimensions shown are labeled example dimensions only.
Example A runs zones along one wall with a straight aisle. Example B tucks sleep into a back corner, away from the door. Example C puts storage at the entry and groups sleep with a shared eating and work surface. Match the shape that most resembles your own room, then adjust it to your actual measurements.
Zone-priority and adjacency worksheet
This is a fill-in worksheet. List your needed zones in priority order, then note which zones work well next to each other and which do not.
| Zone | Priority (1 = highest) | Works well adjacent to | Avoid placing next to |
|---|---|---|---|
| Example: sleep | 1 | Storage/landing, quiet corner | Main door, eating/prep |
| Record your own zone | Rank it against your other zones | Note which zones share a boundary comfortably | Note which zones create conflict if adjacent |
| Record your own zone | Rank it against your other zones | Note which zones share a boundary comfortably | Note which zones create conflict if adjacent |
| Record your own zone | Rank it against your other zones | Note which zones share a boundary comfortably | Note which zones create conflict if adjacent |
What not to buy or change yet
- Do not buy a room divider, curtain track, or partition system before testing whether furniture placement and a rug already create enough visual separation.
- Do not place a tall, heavy piece of furniture as a “wall” without checking whether it needs to be anchored — see the safety note below — and without confirming it does not block a window, vent, or access panel.
- Do not treat vertical storage or a divider-style shelf as a way to add more zones than your circulation can actually support; see using vertical storage without crowding a room for placing wall or vertical storage without crowding the room further.
- Do not buy matching furniture sets to “complete” a zone before living with the layout for a while and confirming it actually works for your routine.
A repeatable review method
- After the first few days: walk the circulation paths again and confirm nothing has crept into them since the initial setup.
- When a routine changes: a new work-from-home schedule or a change in how often you cook can shift which zone needs priority; revisit the worksheet above rather than assuming the original plan still fits.
- Seasonally: reassess whether the visual grouping methods — rugs, lighting — still read clearly, since furniture and belongings tend to drift over time.
FAQ
Can a bookcase actually divide a studio into two rooms?
It can visually separate two zones, but it does not create a true separate room, soundproofing, or full privacy; treat it as a layout tool, not a wall replacement.
How many zones should a studio realistically have?
This depends entirely on your own routine and room size — there is no universal number. A studio used mainly for sleeping and working might need only two clear zones, while one used for regular cooking and guests might reasonably need four. Adding more zones than your circulation can comfortably support usually backfires, since each zone needs a genuine path to reach it without crossing another.
What if my studio genuinely does not have room for a separate work zone?
A temporary, shared surface used only during work hours is a reasonable substitute; see the first-week studio setup order for how a temporary work area fits into an early setup without requiring dedicated square footage.
Is it worth anchoring furniture just to use it as a zone divider?
If the piece is tall or freestanding and its own instructions call for anchoring during normal use, that requirement applies regardless of whether you are also using it to define a zone — follow the product’s instructions either way.
Method notes
This guide applies the Start Here method guide to an open studio: map circulation first, assign zones by real function, and use visual grouping rather than physical dividers. It deliberately avoids presenting the three example plans as universal “best” layouts, since room proportions and window placement vary too much for one diagram to fit every studio. Test one visual zone with measuring an area rug for a small rental room, check any eating zone with measuring a small dining area with chair movement, and use the first-week studio setup order or Layouts & Routines for related setup decisions.
Sources
- U.S. Consumer Product Safety Commission, Anchor It! furniture and TV tip-over prevention program — cpsc.gov/Safety-Education/Safety-Education-Centers/AnchorItgov