What this guide covers
- Separate drying space from storage space
- Measure the rack at its least convenient points
- Plan the open-to-folded cycle
- Choose the open drying zone first
- Compare five folded storage zones
- Keep the rack from becoming a second hamper
- Run a five-step rack reset
- What not to buy or install yet
- FAQ
- Method notes
- Sources
A folding drying rack earns space in a small home only when both versions of it fit: the open rack used by damp laundry and the folded rack stored between loads. Measure the rack in both states, choose an open position with workable airflow, and assign a dry, stable parking slot that does not block a door or escape route. Test that full cycle before adding hooks, clips or a dedicated cabinet.
Separate drying space from storage space
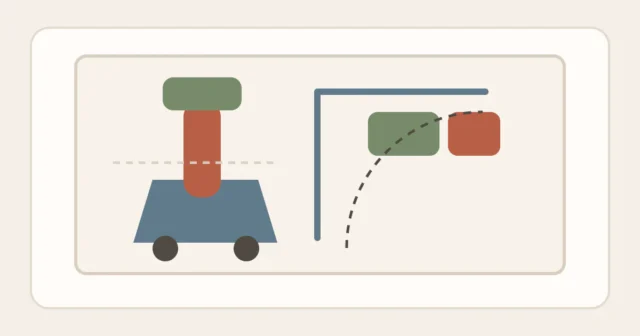
The rack does not need to disappear while clothes are drying; it needs to work safely. Once the load is dry and removed, the rack should fold and return to a small repeatable zone. Trying to use one location for both jobs can fail. The narrow gap behind a door may store the folded frame perfectly but cannot hold an open rack. A bathtub may contain drips for some freestanding models, yet the rack must move before the tub is used.
- Find the model instructions and record whether it is intended for indoor, outdoor or both types of use.
- Measure the maximum open footprint, including wings, feet and hanging items.
- Measure folded thickness, width and height at the widest latch or joint.
- Identify where a wet rack can finish drying before it is stored.
- Keep doorways, windows and walking routes free in both open and folded states.
Measure the rack at its least convenient points
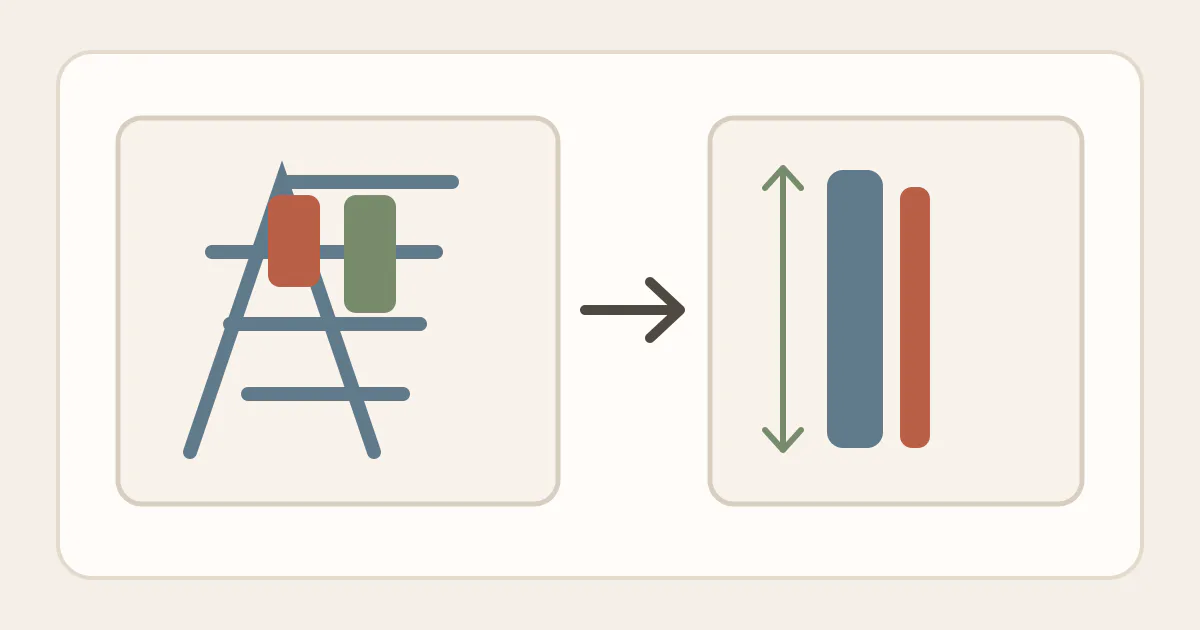
Manufacturer dimensions are a useful starting point, but measure your assembled rack because feet, caps and hinges can project beyond the main frame. Open every wing to the position you use. Add the depth of hanging garments rather than counting only the rails. For storage, fold the rack normally and measure the bulge at the hinge, latch or crossed legs. That is the dimension most likely to catch in a narrow slot.
| State | Measurement | Decision it supports |
|---|---|---|
| Open | Foot-to-foot width and depth | Whether all feet stand on one level, usable surface |
| Loaded | Outer edge of the longest hanging item | Whether fabric enters a walkway or touches a wall |
| Open | Highest wing plus lifting room | Whether the rack clears shelves, lights and cabinets |
| Folded | Maximum thickness at joints and feet | Whether it slides into the intended parking slot |
| Folded | Grip and removal clearance | Whether it can leave the slot without scraping or unloading |
| Route | Narrowest doorway and turn | Whether the open or folded rack can move between zones |
Plan the open-to-folded cycle
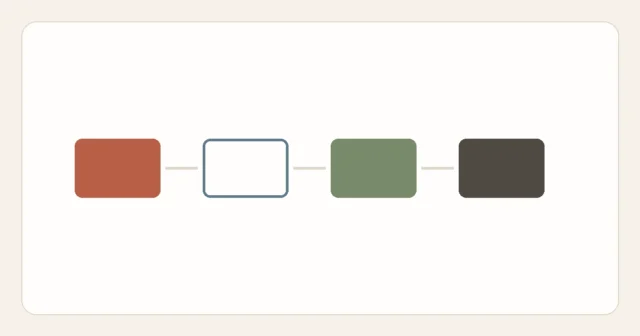
The missing middle step is what makes many storage plans feel damp or awkward. The rack should be empty and dry before it enters a tight slot. The drawing is a workflow example; actual clearances and care depend on the rack, laundry and room.
Choose the open drying zone first
Use the airflow and spacing checks in the indoor clothes-drying guide. Observe the room during the same hours that laundry normally dries. Keep fabric away from heaters, cooking zones, candles and appliance vents. Do not let sleeves or towels drag on the floor. If condensation appears or the room stays damp, reduce the load, improve appropriate ventilation or use a different drying method that suits the home.
The U.S. Environmental Protection Agency identifies moisture control as central to mold control and advises drying wet items and materials promptly. That does not establish one universal drying time for laundry. Fabric, load size, airflow, temperature and humidity all change the result. Use touch and the garment-care direction, and do not fold or store an item that is still damp.
Compare five folded storage zones
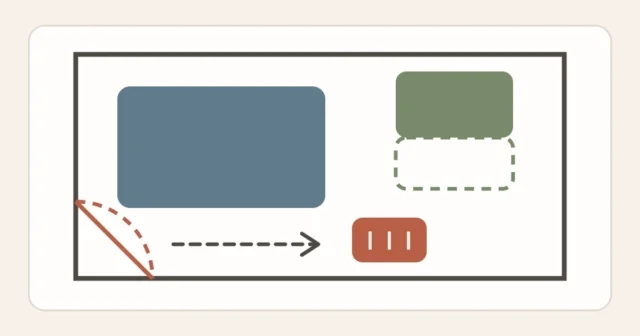
A measured gap beside a cabinet
A side gap can be excellent when the rack stands on a stable floor and its top cannot tip into the room. Check the baseboard because it narrows the gap at floor level. Add a simple freestanding stop only if the rack manufacturer and surface allow it; do not assume pressure against furniture is a secure restraint.
Inside a closet end panel
Use a vertical side zone rather than placing the rack across the front of shelves. The full folded height must clear the hanging rail, and the frame must not snag clothing. Reserve enough grip room to lift it out. If the rack is ever damp, let it dry outside the closet first rather than transferring moisture into a closed space.
Behind a door
Map the complete door arc and handle projection. The rack must not stop the door from opening normally, fall when struck or interfere with an exit. The U.S. Fire Administration recommends keeping doors and windows unblocked as part of a home escape plan. Reject this zone when the rack enters that movement, even if the folded frame technically fits.
Under a bed or sofa
Horizontal storage works only when the rack clears the smallest opening, including center supports and low upholstery. Clean and dry the feet first. Test removal from the side that remains accessible in daily life. A rack that requires moving the bed is not truly stored for weekly use.
On approved wall hardware
Wall storage can free the floor but adds mounting questions. Confirm the rack has an intended hanging point, measure its folded load and follow the hook or bracket instructions. Check the lease, wall material, hidden services and removal terms before altering a rental. A freestanding slot is the default when any condition is unclear.
Keep the rack from becoming a second hamper
Finish the load before new clothes arrive. Remove dry items, fold or hang them, inspect the rack and return it to storage. If clean laundry routinely waits on the frame, create a small landing step in the laundry routine without a laundry room rather than buying another rack. Place the dirty-clothes capture zone according to small-apartment hamper placement so the open rack is never mistaken for overflow storage.
A rack can hold only the load that fits with useful gaps and stays within its product limits. Adding wet items to every rail may reduce airflow and push fabric into the walking route. When the load is larger, divide it into two rounds or use another approved drying method. More bars do not create more room around the bars.
Run a five-step rack reset
- Remove every dry item and place it in the clean landing zone.
- Check joints, feet, rails and any locking mechanism for visible damage.
- Wipe or clean only according to the rack’s material-care instructions.
- Let the empty frame and feet dry completely before folding.
- Fold it through the intended sequence and return it fully inside the measured slot.
Add this reset to the final room pass in the 15-minute evening reset. If the folded rack repeatedly remains in the room, note why: the slot may be blocked, too tight, too distant or difficult to grip. Solve that specific friction rather than blaming the household routine.
What not to buy or install yet
- Do not buy from folded thickness alone; the open, loaded footprint is equally important.
- Do not add a wall hook without an intended hanging point and a verified surface and fastener system.
- Do not put a damp rack into a fabric closet, under a mattress or against a moisture-sensitive surface.
- Do not place an open rack where it narrows the route to a door or window.
- Do not add a second rack until the actual load, spacing and put-away problem is understood.
FAQ
Can I store a drying rack behind a door?
Only when the folded rack stays stable and the door can complete its normal movement without striking it. The location must not block an exit or required window. Test the door from both sides and reject the spot if the rack shifts, catches or narrows the route.
Should the rack be wiped before folding?
Follow the care instructions for its materials. Remove visible debris and let the frame and feet dry completely before a tight storage zone. Do not use a cleaner merely because it is nearby; an unsuitable product can damage a finish or leave residue near clothing.
Is storing a rack in the bathroom a problem?
It depends on the model, available dry zone and the bathroom’s moisture pattern. Do not park it where it receives shower spray, blocks fixtures or remains damp in a closed gap. Observe the actual room and move the rack if condensation or corrosion appears.
How much clearance should I add around a folded rack?
There is no universal number. Add enough room for the widest joint and for the hand movement used to remove it without scraping walls or pinching fingers. Test the planned slot with the assembled rack before adding dividers or hardware.
Method notes
This guide applies the Start Here method to a tool that changes shape: measure open, loaded, empty-drying and folded states; protect the route; then test the full laundry handoff. It extends the indoor clothes-drying guide and laundry routine without a laundry room while keeping storage decisions within the broader Laundry & Cleaning system.
Sources
- U.S. Environmental Protection Agency, moisture control and prompt drying guidance — epa.gov/mold/brief-guide-mold-moisture-and-your-home
- U.S. Environmental Protection Agency, home moisture-control measures including exhaust ventilation — epa.gov/mold/what-are-main-ways-control-moisture-your-home
- U.S. Fire Administration, home fire escape planning and unblocked doors and windows — usfa.fema.gov/prevention/home-fires/prepare-for-fire/home-fire-escape-plans
- IKEA, official drying-rack overview describing foldable freestanding storage forms — ikea.com/us/en/cat/drying-racks-20602
- IKEA, official JÄLL product page with folded-storage design and model measurements — ikea.com/us/en/p/jaell-drying-rack-indoor-outdoor-white-80242892